
We work hard carefully developing our images so they sing on the monitor only to be disappointed that when we print them they don’t quite live up to what we saw on the screen. Part of this is due to the fact that there are differences in the way that monitors and paper transmit light. However, if an image has been properly optimized for printing on a specific paper then it is possible to achieve something that very closely matches what we saw on screen. Printing multiple proof copies and making adjustments between each print until it looks right is one way to approach the problem, but this is time consuming, expensive and wasteful. Soft proofing provides another option. Photoshop (and now Lightroom 4) allow for soft proofing by simulating what an image will look like when printed on a certain type of paper or other print media. Comparing the print simulation to how the image looks on the monitor allows us to make adjustments on screen that will allow the image to match our intent when printed. Soft proofing is a multi step process so it can be time consuming. In this video tutorial I show how to build an action in Photoshop that streamlines the soft proofing workflow so a “proofed” image is created with a single click.
More video tutorials of my Photoshop image developing techniques are available for download at OutdoorExposurePhoto.com or HERE on the PhotoCascadia site.
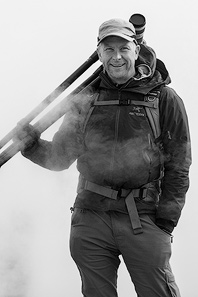
Sean is an outdoor photographer, digital image developing enthusiast and photography educator based in Ashland, Oregon, where he resides with his wife and two sons. His previous career as a science teacher makes photography education a good fit. Sean teams up with fellow Photo Cascadia members leading workshops. He also teaches digital image developing classes, lectures and offers a series of Photoshop video tutorials.
More posts by Sean Visit Sean’s Image Gallery Visit Sean’s Website
Recent Comments