
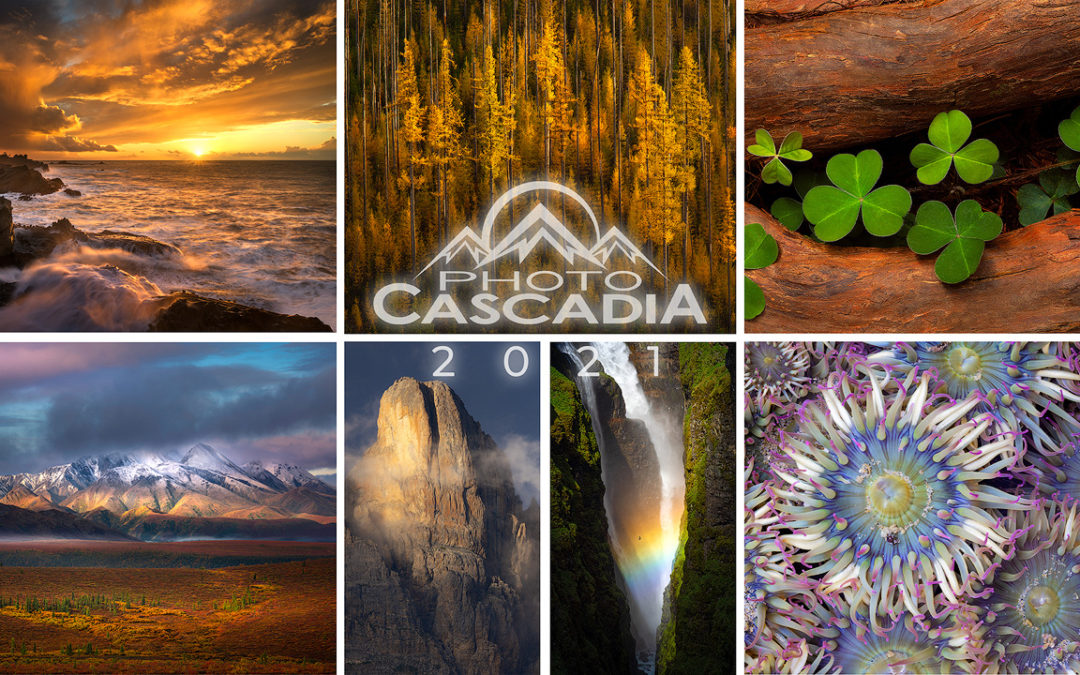
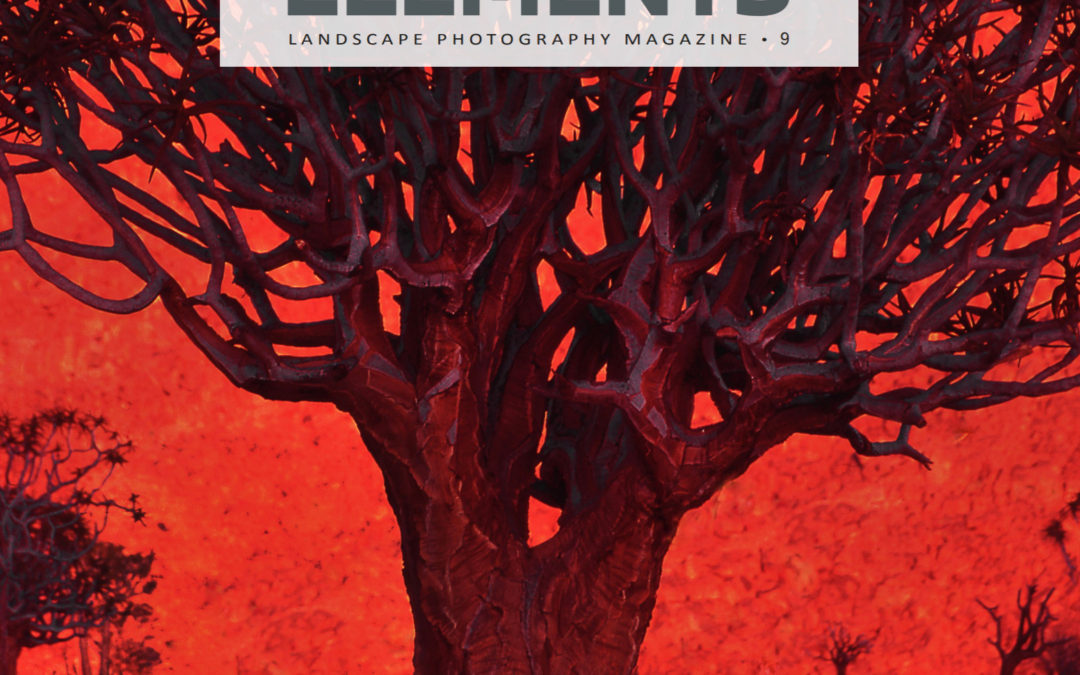
Elements Magazine and Fine Landscape Photography
As a photographer, it is always satisfying to have your images published, especially in a well-regarded landscape photography magazine such as Elements Landscape Photography Magazine. In that light, it is a pleasure to have some of my images featured in the Gallery...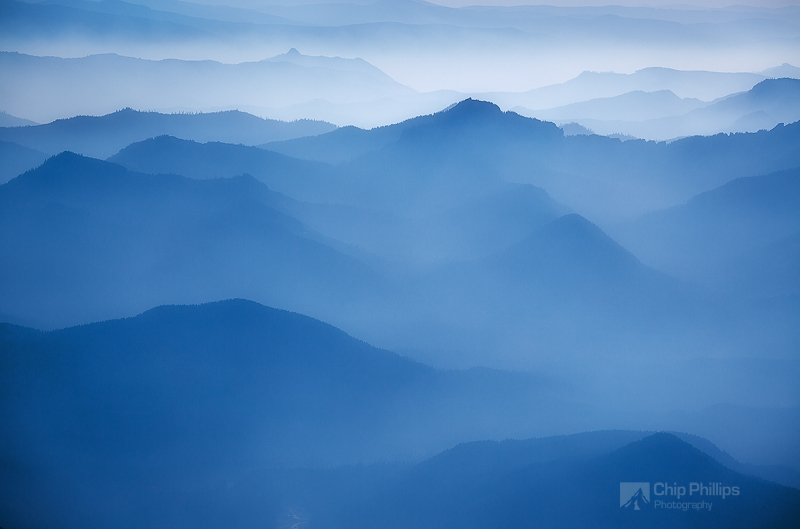
Paranormal Wilderness Experiences
“Suddenly I had the feeling that something was coming up behind me. I looked back, and saw a gigantic black figure following me… When I awoke I realized at once that the figure was a “specter of the Brocken,” my own shadow on the swirling mists,...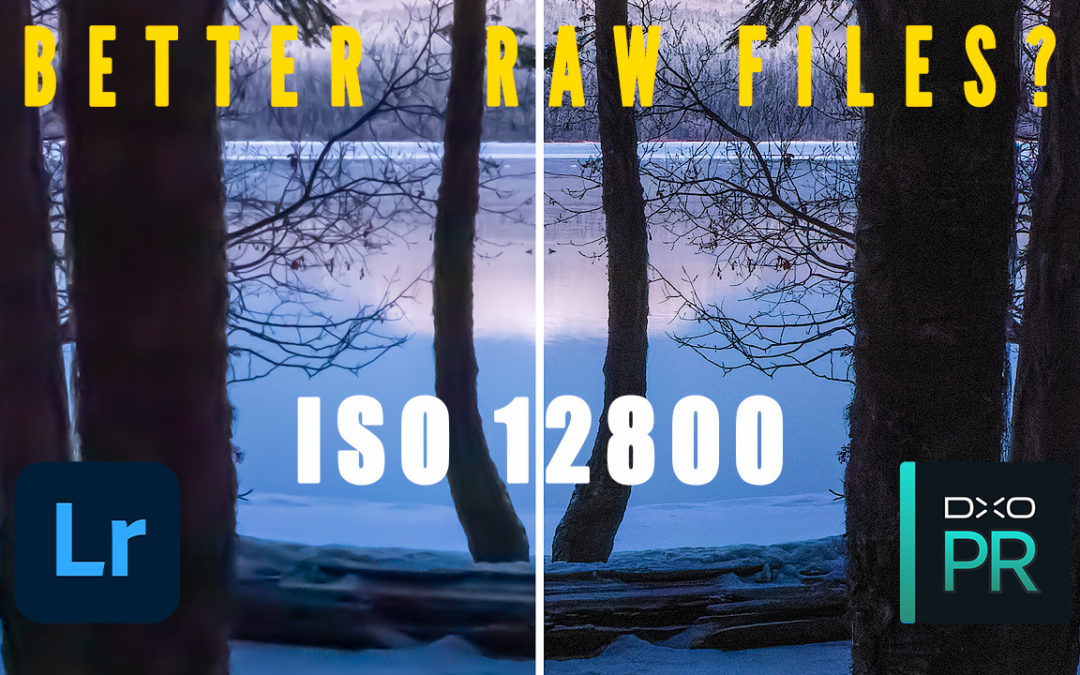
Create Better Raw Files? Testing DxO PureRAW
DxO recently released a new piece of software called PureRaw that I thought was worth giving a look. DxO did not ask me to review it and I paid full price for my copy of PureRaw. The idea of creating enhanced raw files while maintaining a Lightroom and Photoshop-based...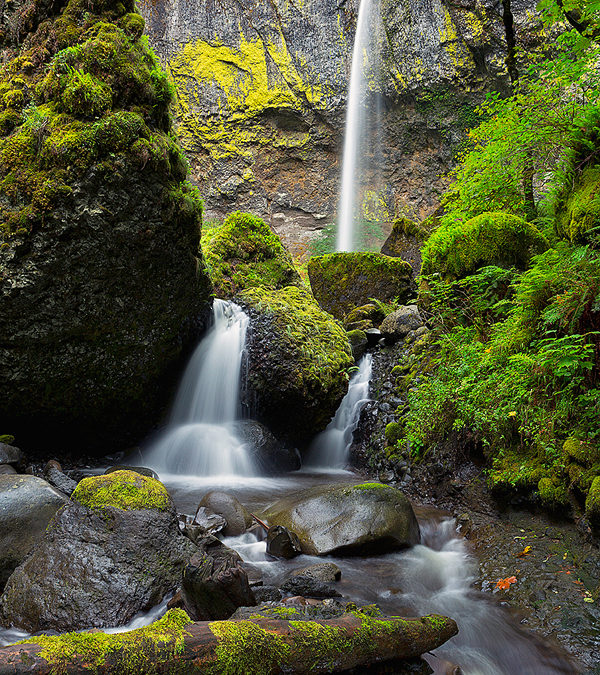
You Might Think It’s New, but It’s Not: Comp-Stomping
People have been trying to emulate other’s photos for a long time, often because the scene is inspiring. In 1840 Hugh Lee Pattinson took a photo of Niagara Falls, and it was one of the earliest landscape images in North America. Since then, people have been drawn to...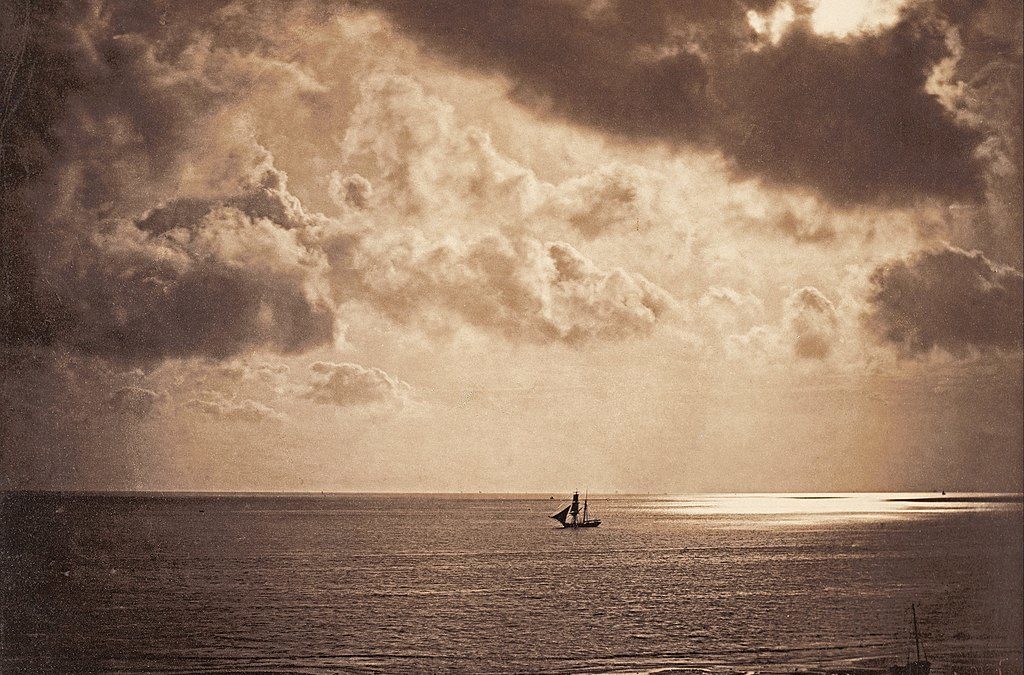
You May Think It’s New, but it’s Not: Layering
Occasionally, someone will look at my images and ask, “Are these Photoshopped?” I take this to mean, how much has the image been manipulated. I often answer that I use Photoshop and Adobe Camera Raw to process my images and leave it at that. Part of using Photoshop in...
Clubhouse for Photographers: Social Media as We Know It is About to Change
Many photographers have had the same reaction that I did upon hearing about yet another new social media app hitting the radar: a yawn and a roll of the eyes. We have seen countless apps and image-sharing sites emerge with fanfare and then fail to gain traction...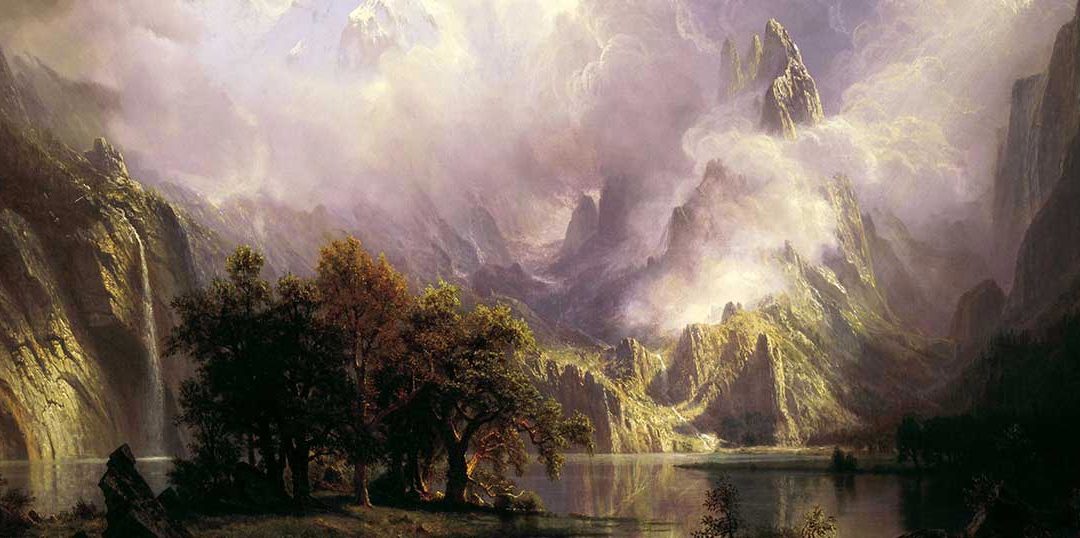
Artists That Inspire: Albert Bierstadt
Welcome to the latest in my semi-regular series of blog posts about artists that inspire me. As a photographer, I’m fascinated with how landscape artists of different media (in this case, paint) approach light; I feel that by analyzing and appreciating other...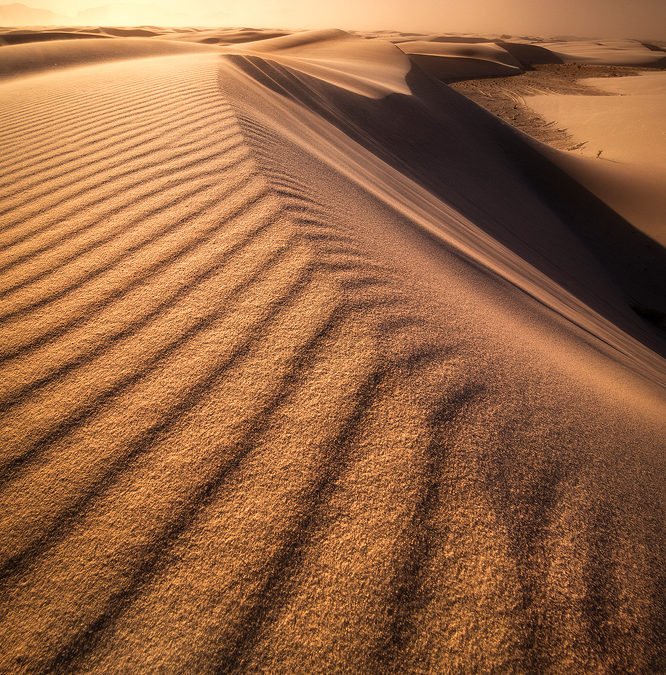
How To Photograph Sand Dunes
One of my favorite subjects when it comes to landscape photography is photographing sand dunes. The variety and the uniqueness of dunes make it a great subject to photograph. When it comes to images of dunes that resonate with viewers, the following vital...
Recent Comments