
In June 2020, Adobe made a significant upgrade to both Adobe Camera RAW 12.3 and Adobe Lightroom Classic. Most of the updates were long overdue. Although there were many changes, I will only be focusing on the upgrades that concern nature photographers. To upgrade, go to your Creative Cloud app and go the page for updates. All updates can always be found on this page. Make sure to upgrade Adobe Photoshop to 21.2. If you don’t see anything showing the update tab, make sure to sign out and sign back in. The overall engine of Camera RAW, as with most significant updates, has got a speed increase. Access to tools and edits is much faster. The speed upgrade is noticeable when using local adjustment tools, and when merging HDR and stitching panoramic images. In past versions with blending and stitching images, the process could be very long. There is now a filmstrip view at the bottom of the page that has the option to be viewed horizontally or vertically. This new filmstrip view can be a nice feature depending on the amount of screen size available to you when editing. The option to choose the full-screen layout is located in the top right corner.
Layout Interface
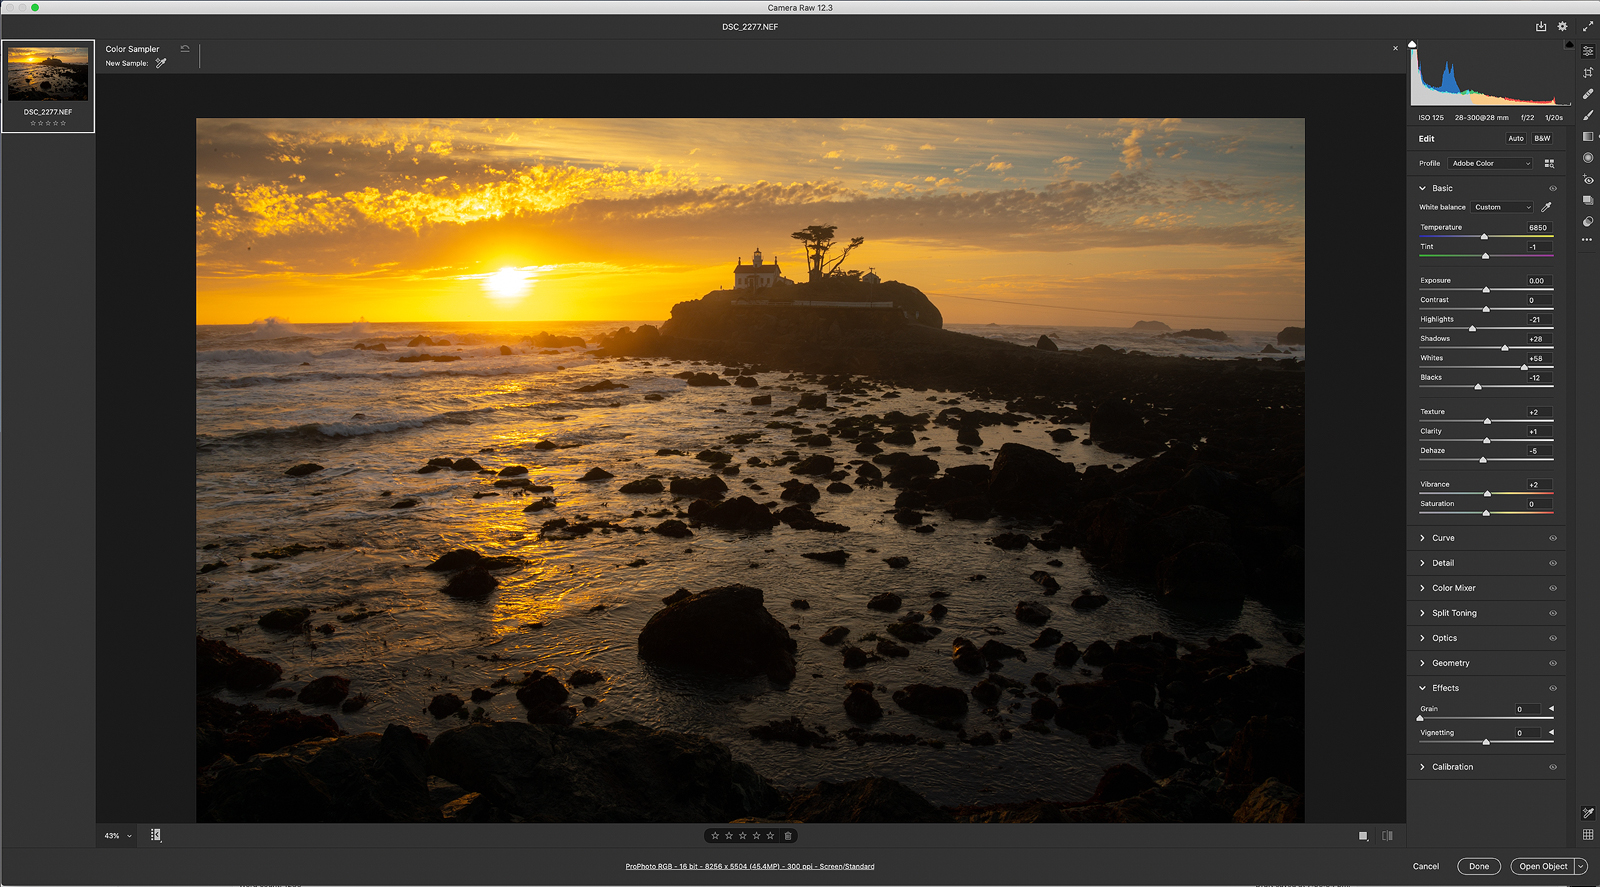
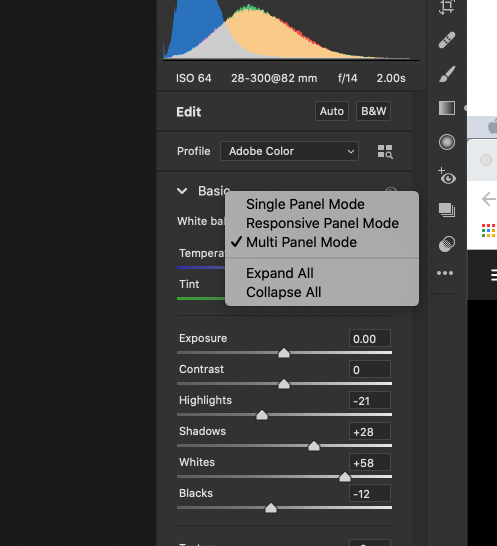
The first thing that you will notice when you open the new Camera RAW 12.3 for the first time is how different the interface presents itself. The new Camera RAW has a whole new look to it. After working with the latest version, I instantly started to appreciate the cleaner look. The new interface is very similar to Lightroom. The new interface gives the impression that in the future, the two might merge as one application. The edit panel is now located on the right side rather than at the top of the page. Access to your main tools is still available, but some of the names have changed. For example, the HSL tab has changed to “Color Mixer”. This change has been done to reflect the modifications better than the tab is making. Rather than the tabs being on top, you now find the auto button at the very top. I find this a much better place to position the auto button than deep within the menu as in previous versions. By default, you can open each panel one at a time or have all tabs open at one time for access. To access this option, right-click on any tab, and you are presented with three choices; Single Panel, responsive Panel, or Multi Panel. Besides each group, there is a preview button that shows whether you have made modifications in that panel. If you choose the single-mode within Camera RAW preferences each time you open up a group, the rest of the other panels will close. This change is an efficient way of seeing only the panel you are currently working on.
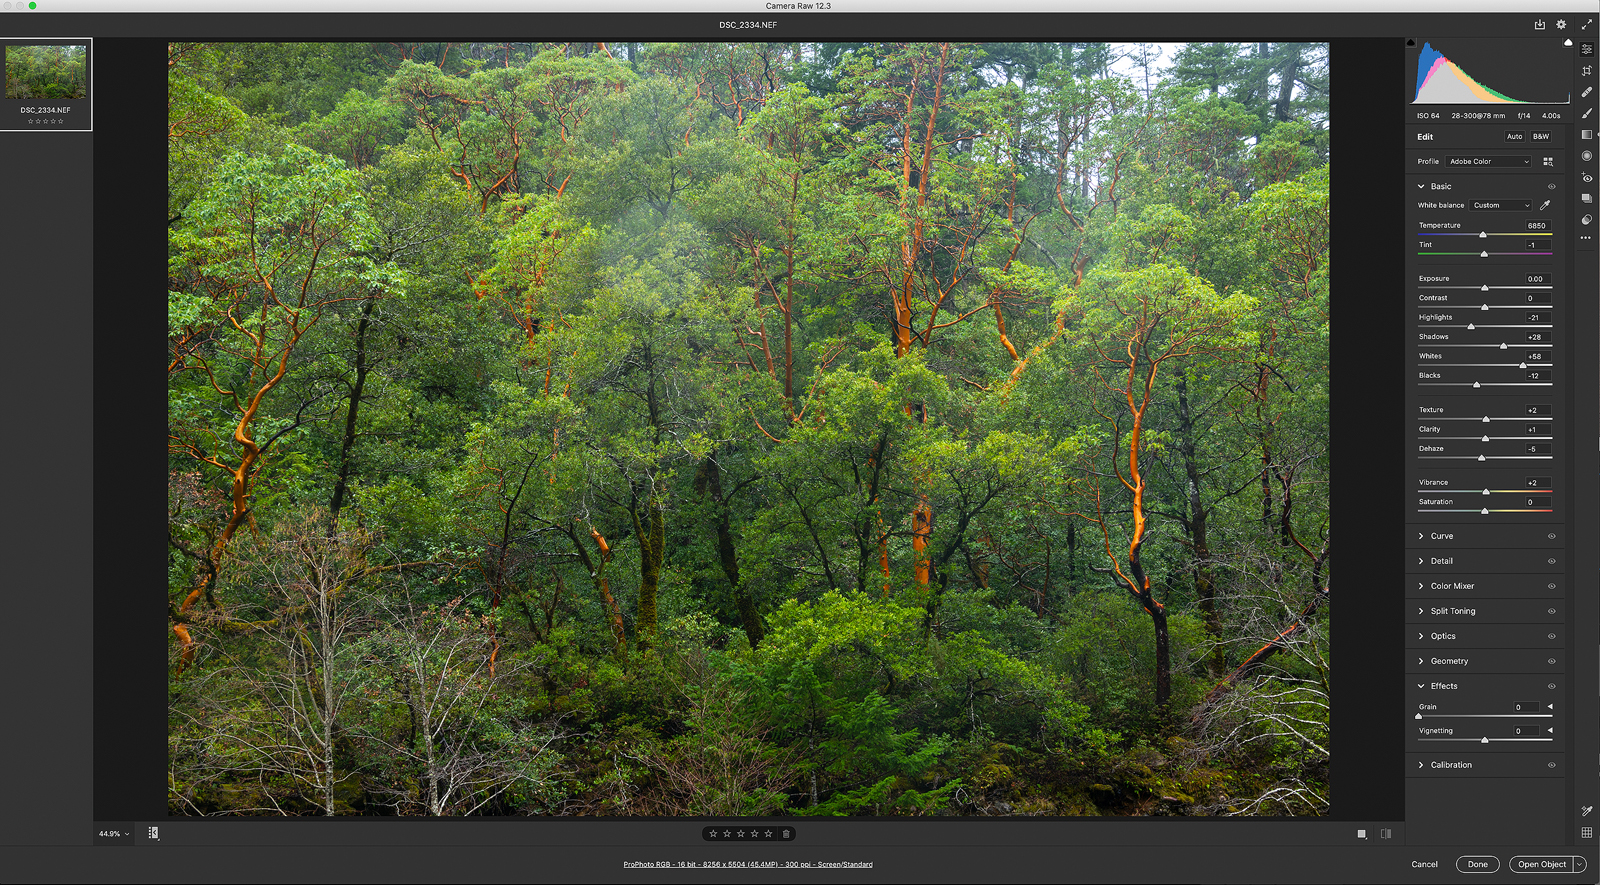
Filmstrip View On Side
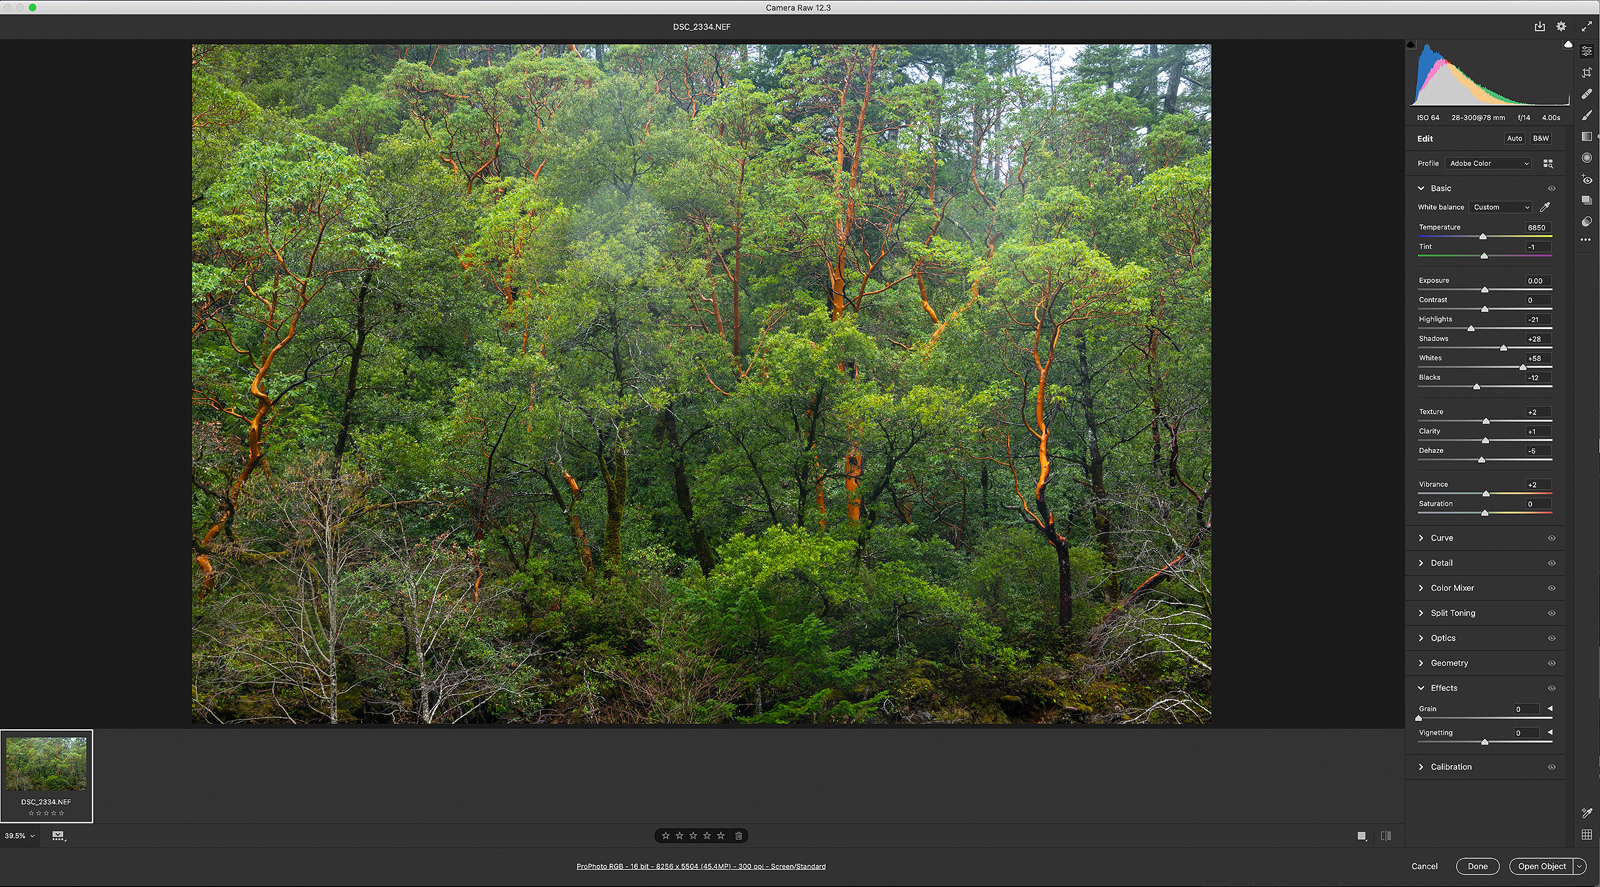
Filmstrip View Below
New Panel Tab Found On The Right Side Of Page Rather Than On Top
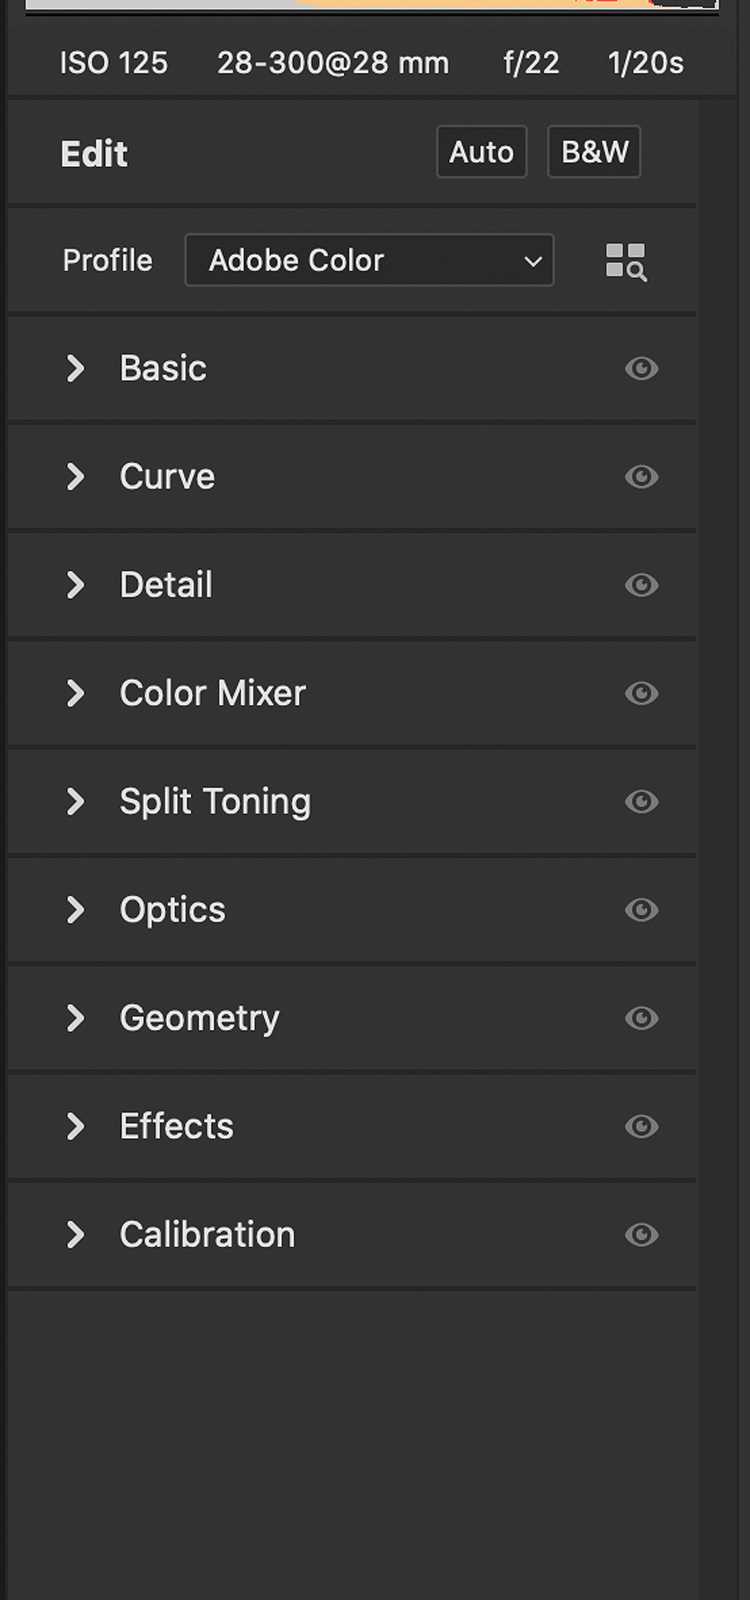
In previous versions of Camera, I found that having all the tabs open at once was overwhelming. Often, I found myself confused about which panel I was presently working on. With the changes edited in single-mode, it’s much easier to stay organized and focused on each tab. The other significant difference you will notice is that many options are conveniently tucked away in a drop-down menu. The result is a much cleaner interface where lesser-used tools are temporarily hidden. This update allows for the more critical tools more accessibility. This feature is an excellent feature for both advanced and beginning users of Camera RAW. The main takeaway is that the design interface and names have changed, but the function of the tools is the same.
Color Mixer
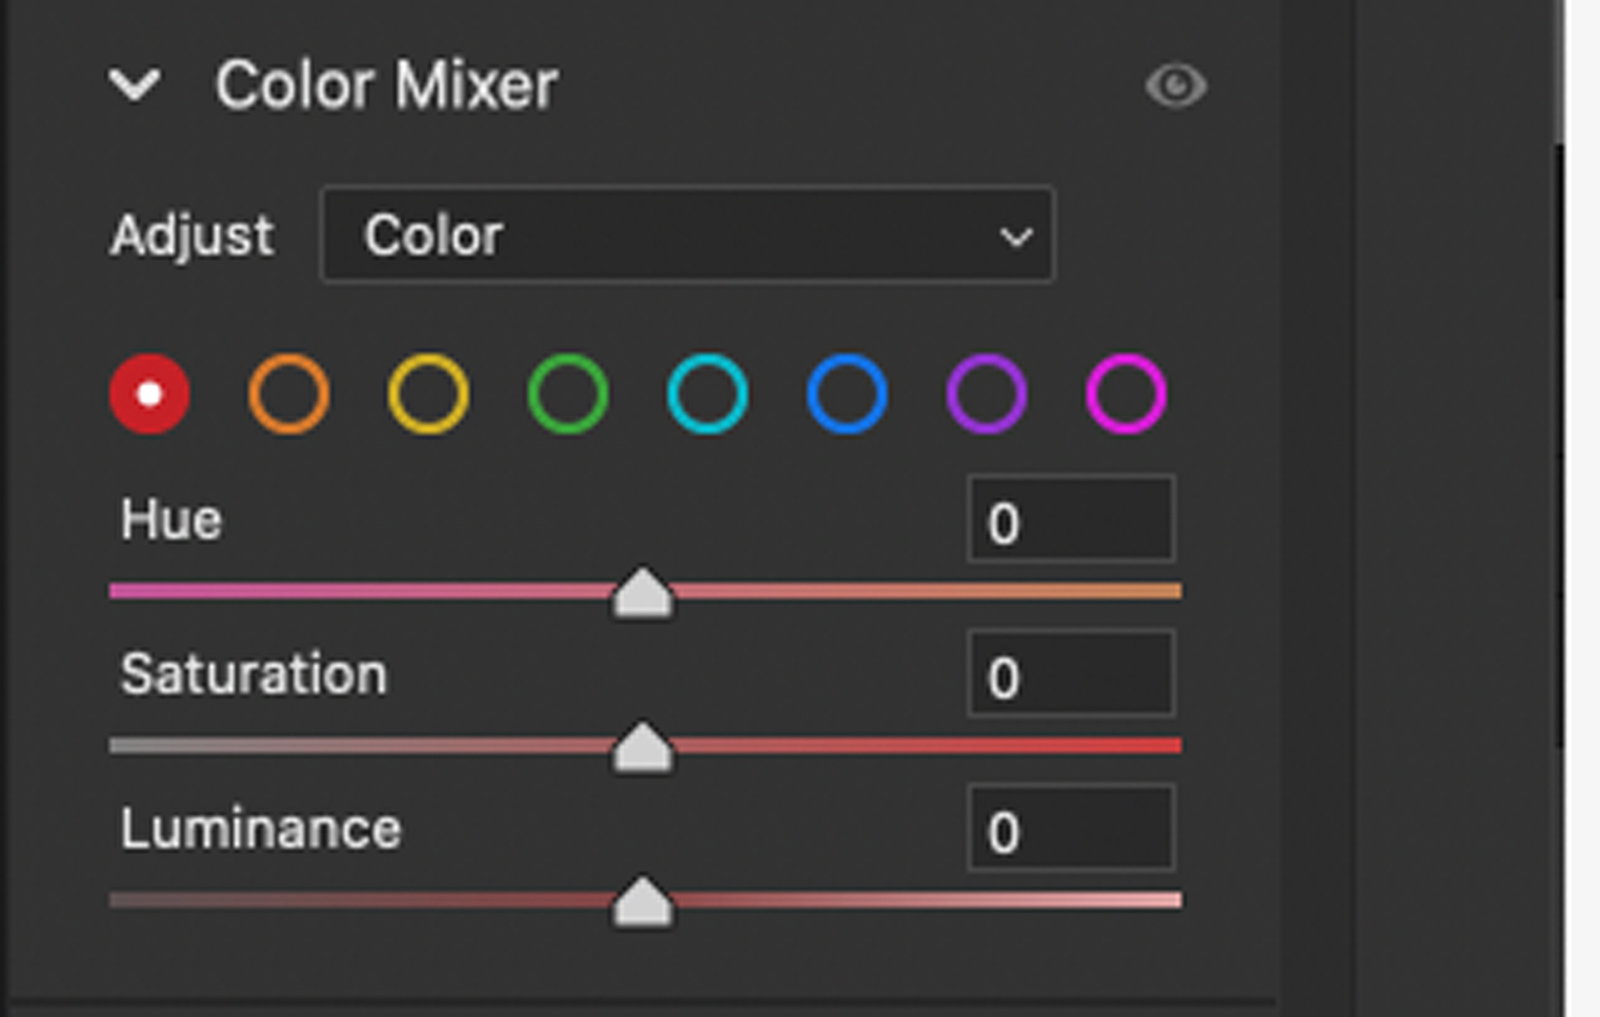
One of my favorite changes to the new Camera raw is the old HSL tab now renamed ‘Color Mixer.’ In previous Camera models, the target adjustment tool was at the top of the page. The new tab now has the target adjustment tool within the actual ‘Color Mixer’ panel. Access within the tab makes much more sense in terms of logistics. Possibly the most significant improvement for photographers can is the drop-down menu within the HSL/Color Mixer Tab. You know have two choices HSL or Color. The HSL is still available but now with the option to choose the color mode. By selecting the color mode, you can now pick one individual color and change the hue, saturation, or luminance. The addition of the color mode is a huge time-saver over the old method to access the HSL. You had to go in and out of the main tab. With the color tab, you can choose a particular and modify all the changes in one spot. For example, sometimes, I want to access the color blue to edit the sky. One of the changes I often make is to change the hue and darken the blue sky. I can now choose the color ‘Blue’ and make those changes all at once.
Tool Settings
One of the most significant changes to the new Camera Raw is the settings interface layout change. The settings that used to be on top of the page are now on the far right. This panel includes tools such as the red-eye, crop, spot healing. Local adjustment brushes such as the radial filter, graduated filter, and adjustment brushes can be located along the right side. This modification makes sense to have on the right side in terms of placement. This panel now includes a much-needed option edit button. In previous models, it wasn’t easy to return to the basic ‘Edit’ tab after editing with one of the tool settings. The new change has the edit button at the top of the panel, making it easy to return to the edit tab after using any tool setting options.

Local Hue Changes
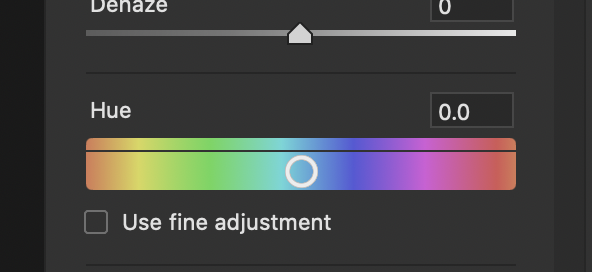
Located within the new color mixer tab, you will find the new hue slider. A hue slider is now a new option when using three local adjustment tools; radial, graduated, and adjustment filter. You can now change the hue of a selected area by moving the hue slider right or left. Make sure to combine this with the ‘auto mask’ turned on. For example, if I have to try to change the hue of a barn, I can select just the barn with an adjustment brush and change the color of the barn by itself. Below the slider, there is a checkbox to ‘use fine adjustment.’ This action allows the slider to move slower and make more precise changes. This option can be beneficial when trying to zone in on a specific hue or color.
ISO Adaptive Presets
One of the most significant changes is the addition of ISO Adaptive Presets. Using this preset you can now have noise reduction adapt to the amount of noise applied based on the ISO. So you have an image with high noise and ISO such as low light image or an image of the milky way, the ISO preset will apply a stronger application of noise removal based on the ISO of that image.
Curves
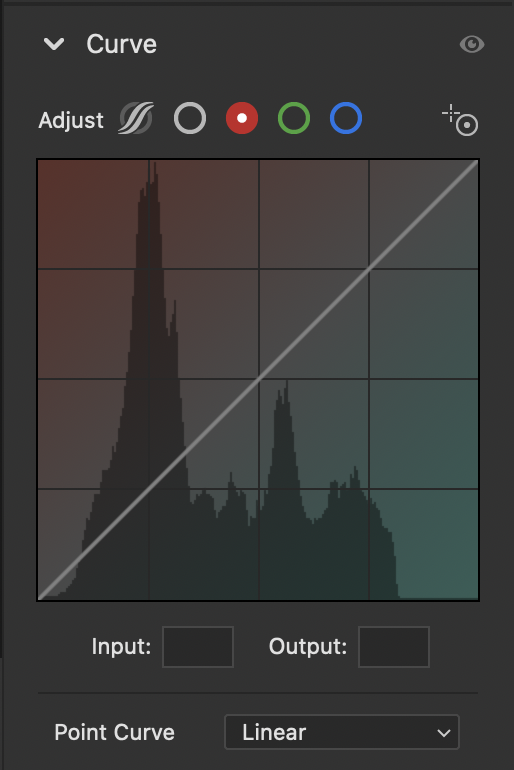
The curves table now has a color overlay to help identify the colors. Having a visual color reference allows the user to see colors. For example, if you choose the red color and move the curves up, it moves toward a red color, and if you move it down, it shows you a cyan color. The color overlay is very helpful for people just learning curves and helps explain the direction in which color is being added or subtracted.
Save As JPEG
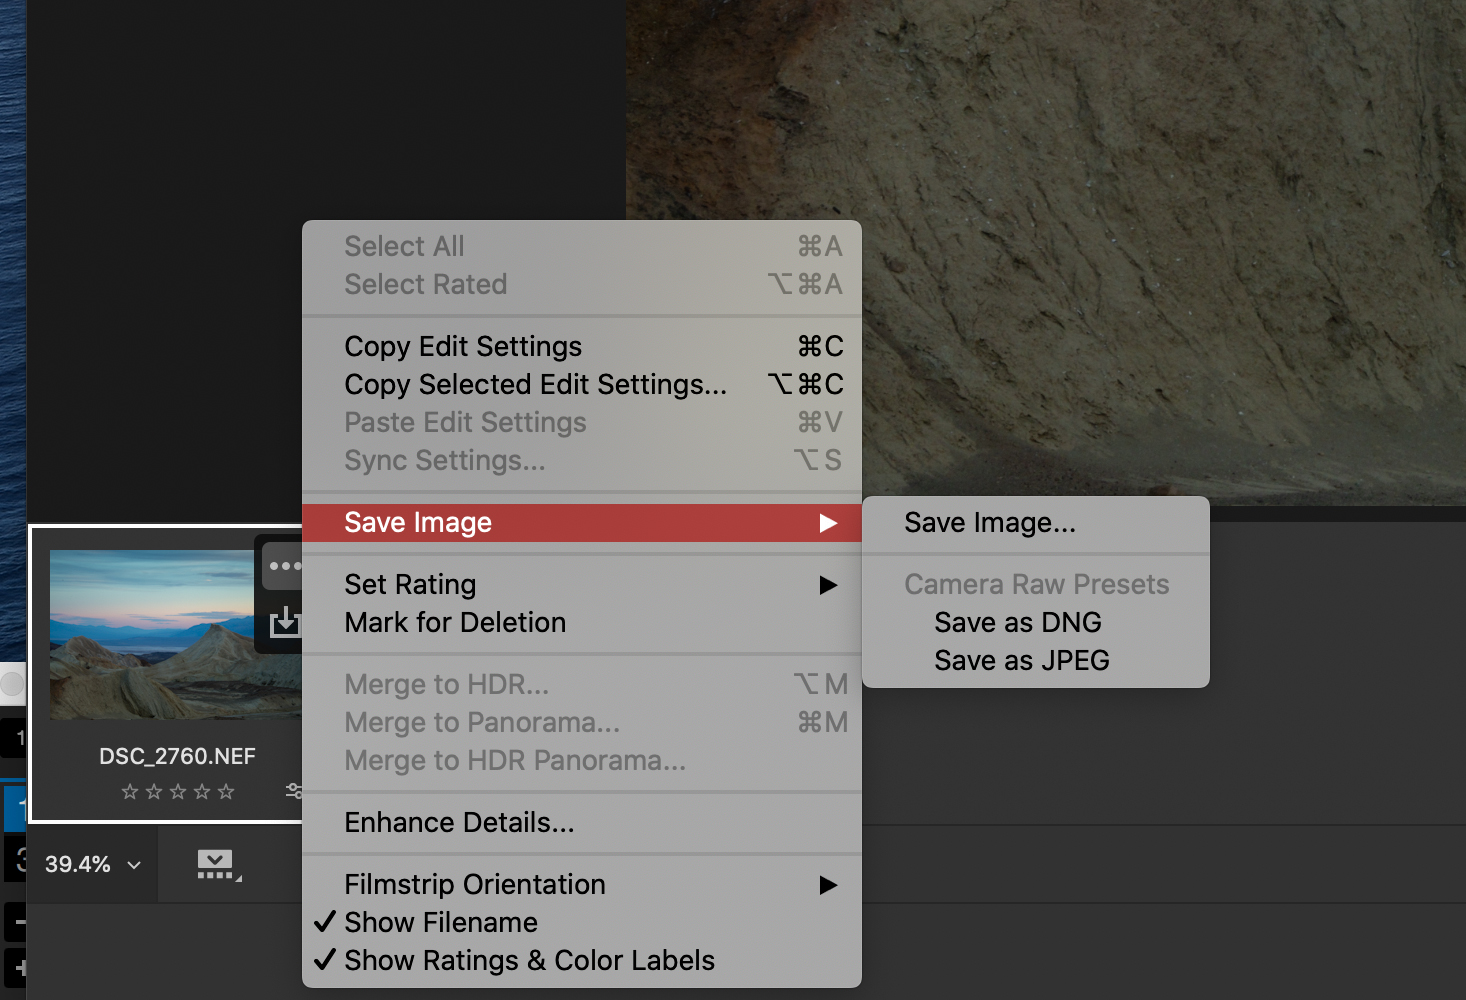
Sometimes at the end of your Camera Raw processing, you complete the edit on the image and save it as a JPEG. With the new update, you can save the image as a JPEG without having to go into Photoshop. You can save the image as a JPEG in Camera RAW. To save the image as a JPEG, right-click on the open button in the bottom right corner and choose ‘Save as JPEG.’ To resize the JPEG right-click on ‘Save Image’ and then presented with options to resize.
In conclusion, these new changes are a considerable upgrade. I am so happy to see the new hue slider, which allows me to change hue locally rather than globally or in Photoshop. The simplified change in the interface helps with the Camera Raw workflow. The option to choose a single-mode when it comes to tabs helps me focus on the current tool. The new changes bring both Lightroom Classic and Camera RAW closer and make both more comfortable to use and more unified. But without a doubt, my favorite upgrade is the speed upgrade in the processing engine. Going from one tool to the next is quick and painless. Also, I love having the flexibility to merge several images into an HDR image quickly or Panoramic and not have to wait or get coffee. I think you will like the new Adobe Camera Raw. Let me know what your thoughts are.
Website: www.kevinmcnealphotography.com
Facebook: https://www.facebook.com/kevinmcneal30
Instagram: www.instagram.com/kevinmcneal30
Flickr: https://www.flickr.com/photos/kevinmcneal
Kevin McNeal is a landscape photographer who resides in the Pacific Northwest of the U.S. He focuses on grand colorful landscapes that reflect the most unique places on earth. Capturing moments of magic light and transferring this on print, images behold a combination of perseverance, patience, and dedication to capture the images in ways unseen before. The stories of how these images are rendered come across in the feelings the images convey.
Recent Comments