
(Note: I published the video that accompanies this article on my YouTube Channel in June, so if you are a subscriber over there you may have already seen it.)
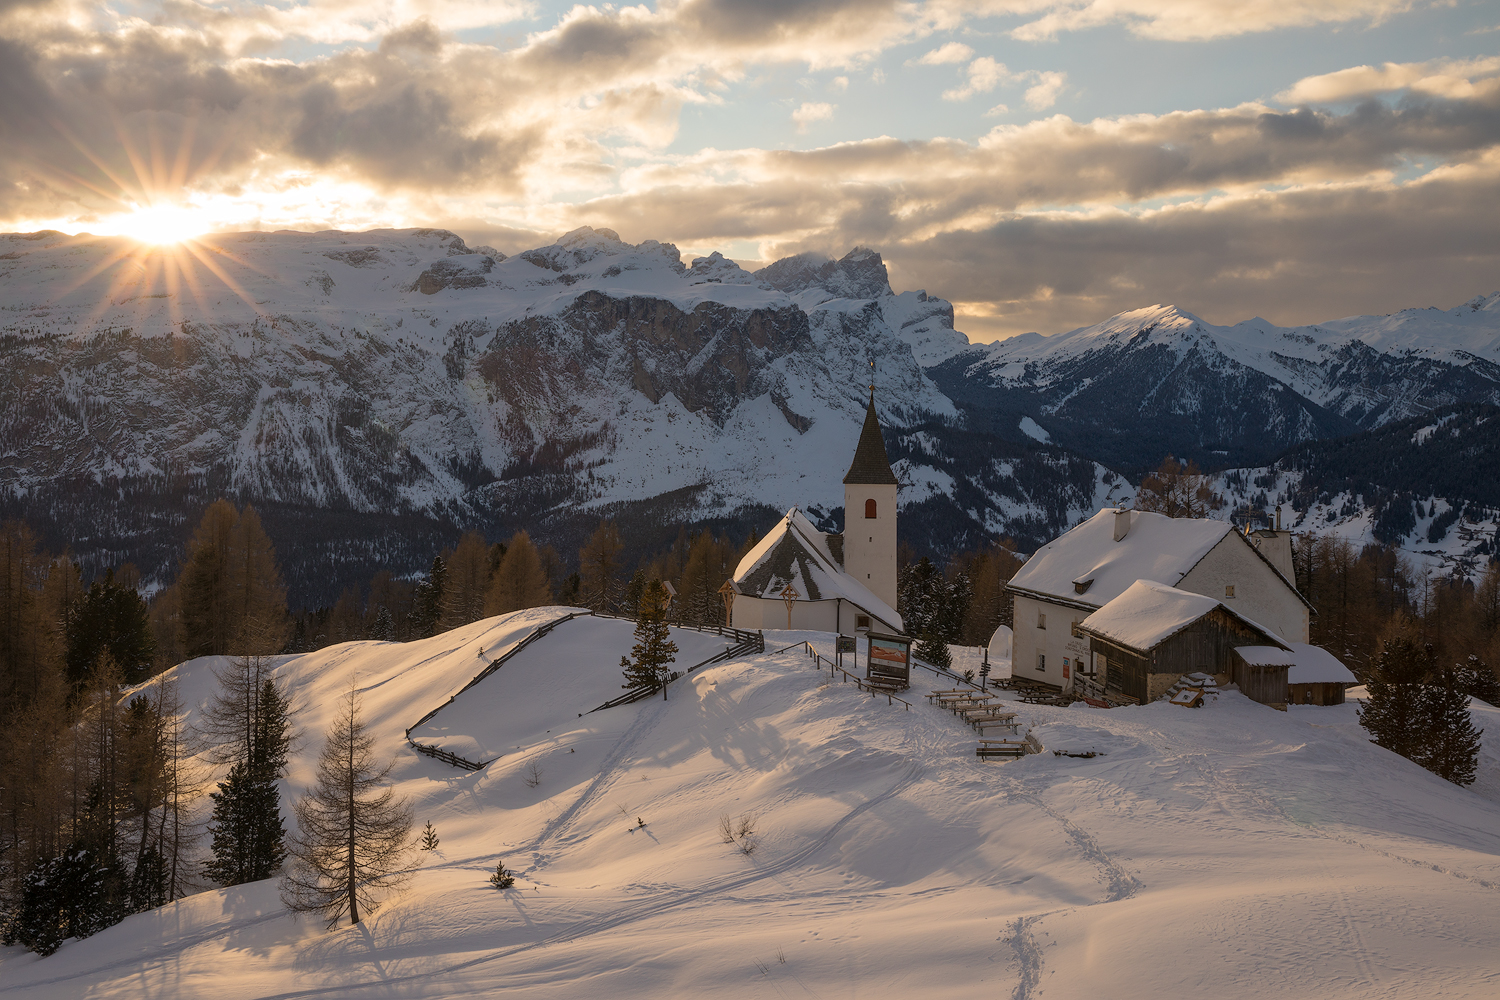
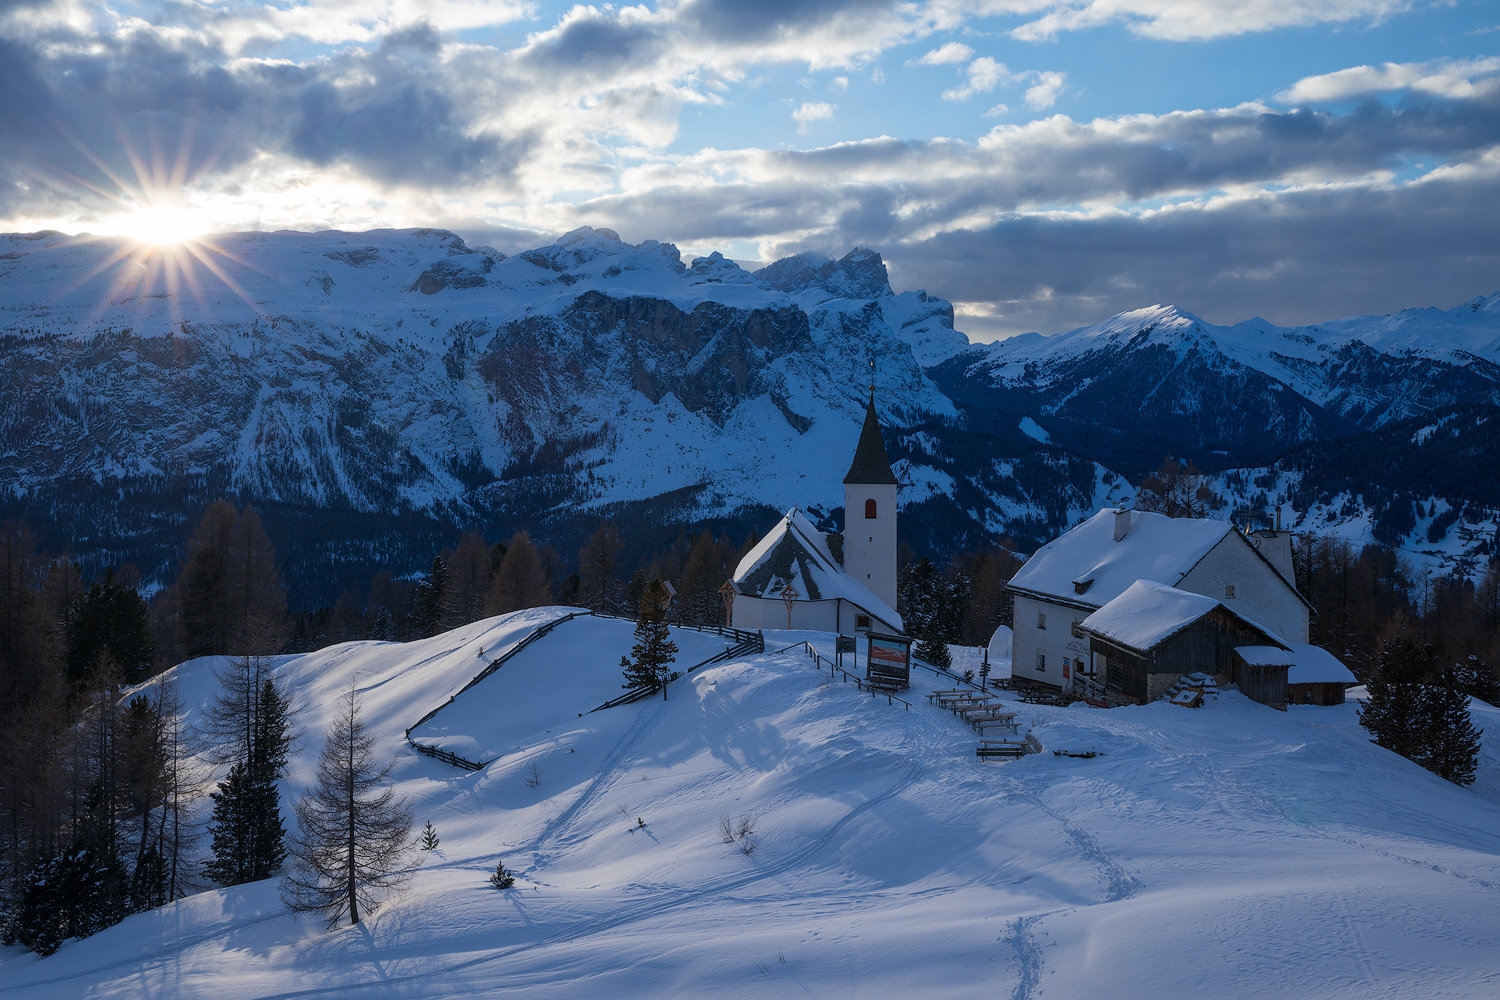
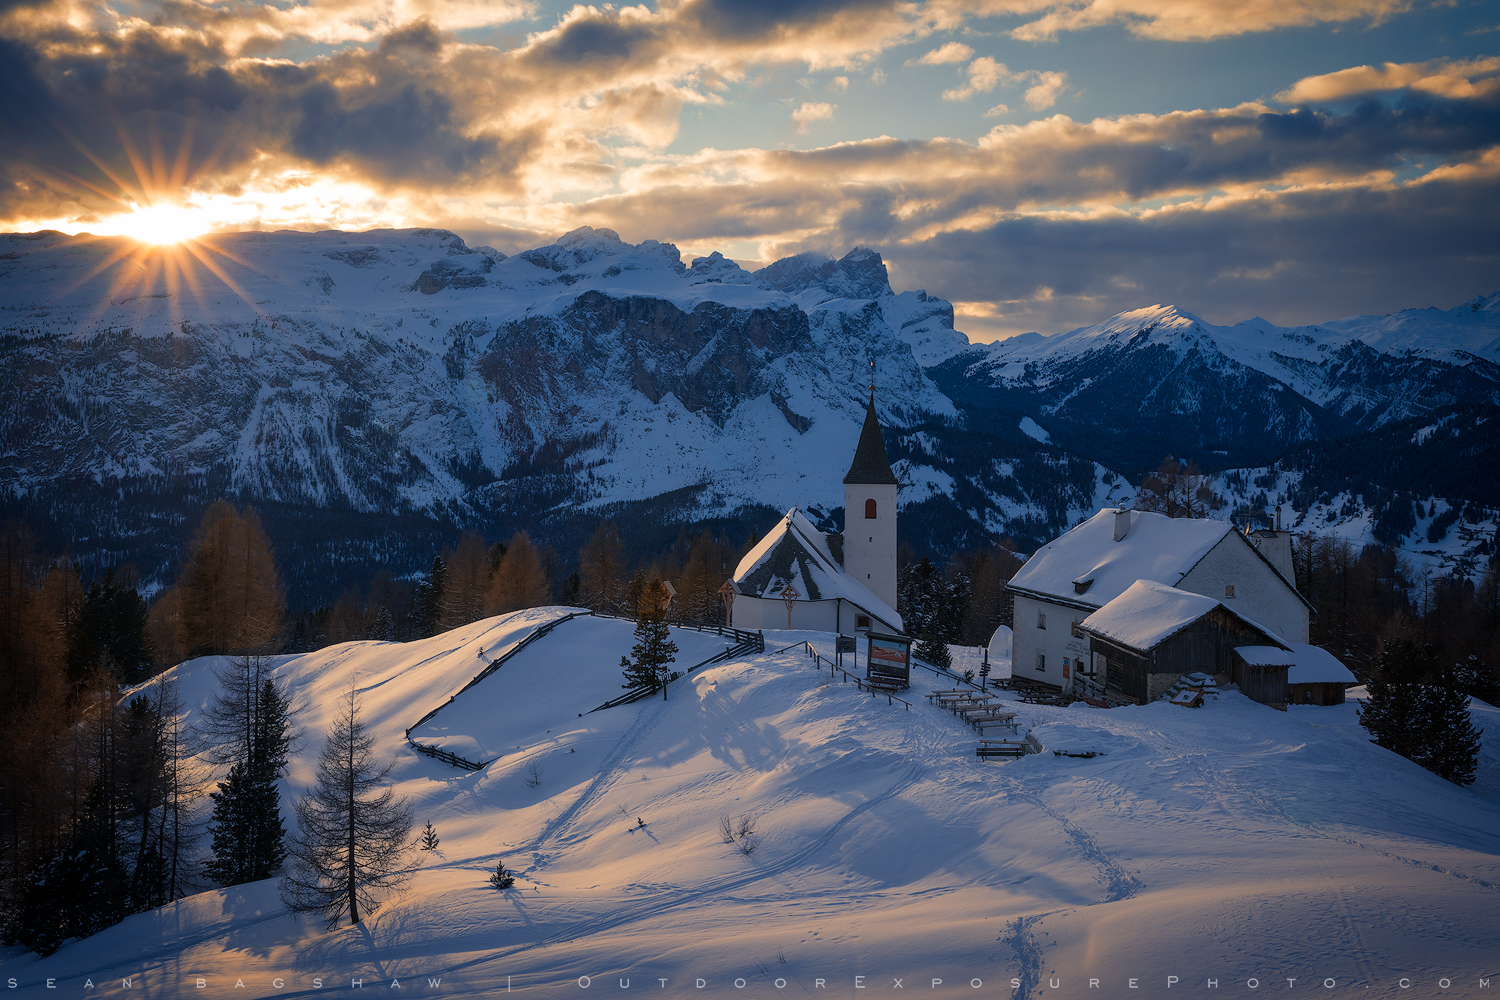
Split toning is a process in photography of adding one color to the shadows and a different color to the highlights. It can be used to change the visual mood or enhance the interplay of cool and warm tones. It is also sometimes used to replicate vintage film processing techniques. I most often use it to warm up direct light while also adding cooler colors into the shadows. Lightroom has a basic split toning tool and Photoshop provides many ways to apply a split tone effect. But getting the tones and colors to look just right can be challenging with more basic approaches. I often use a Photoshop technique to split tone that I feel gives the greatest degree of control, options and flexibility. In the video tutorial below I demonstrate how to accomplish the technique. I utilize the TKActions V6 Panel, but it can be accomplished without the panel as well if you know how to hand generate luminosity masks.
The basics steps in the procedure are as follows:
- Separately adjust the white balance to two copies of the same image in Lightroom/ACR−one warm, one cool.
- Open the two versions as smart objects in Photoshop and stack them as layers in a single image file.
- Use a luminosity mask for the top layer that correctly reveals the desired toning from that layer.
- Modify the luminosity mask to get the split tone blend just right.
- Use the smart objects to further adjust the raw white balance to dial in the optimal colors for both the shadows and the highlights.
- Fine-tune the split toning even more in Photoshop with additional adjustment layers such as the Color Balance or Selective Color adjustments.
Split toning using a luminosity mask is something that I have been doing for a long time, and I even cover it in a couple of my tutorial courses. But I recently learned the step of using the two smart object copies of the image from my Photo Cascadia teammate, Erin Babnik, so thanks, Erin! Actually, her workflow is quite a bit more sophisticated and involved than what I show in the video, but whatever the case, being able to fine tune the raw white balance in each of the smart objects has great benefits in control and adjustability.
Give this technique a try and let me know what you think. I’m always happy to answer questions and enjoy hearing about variations and other approaches.
Sean is an outdoor photographer, digital image developing enthusiast and photography educator based in Ashland, Oregon, where he resides with his wife and two sons. His previous career as a science teacher makes photography education a good fit. Sean teams up with fellow Photo Cascadia members leading workshops. He also teaches digital image developing classes, lectures and offers a series of Photoshop video tutorials.
More posts by Sean Visit Sean’s Image Gallery Visit Sean’s Website
Recent Comments